How to Manage Flows
This guide will show you how to manage flows using Rasa Studio. You’ll learn to navigate, edit, delete, and organize flows, helping you maintain a clean and efficient workspace for your assistant.
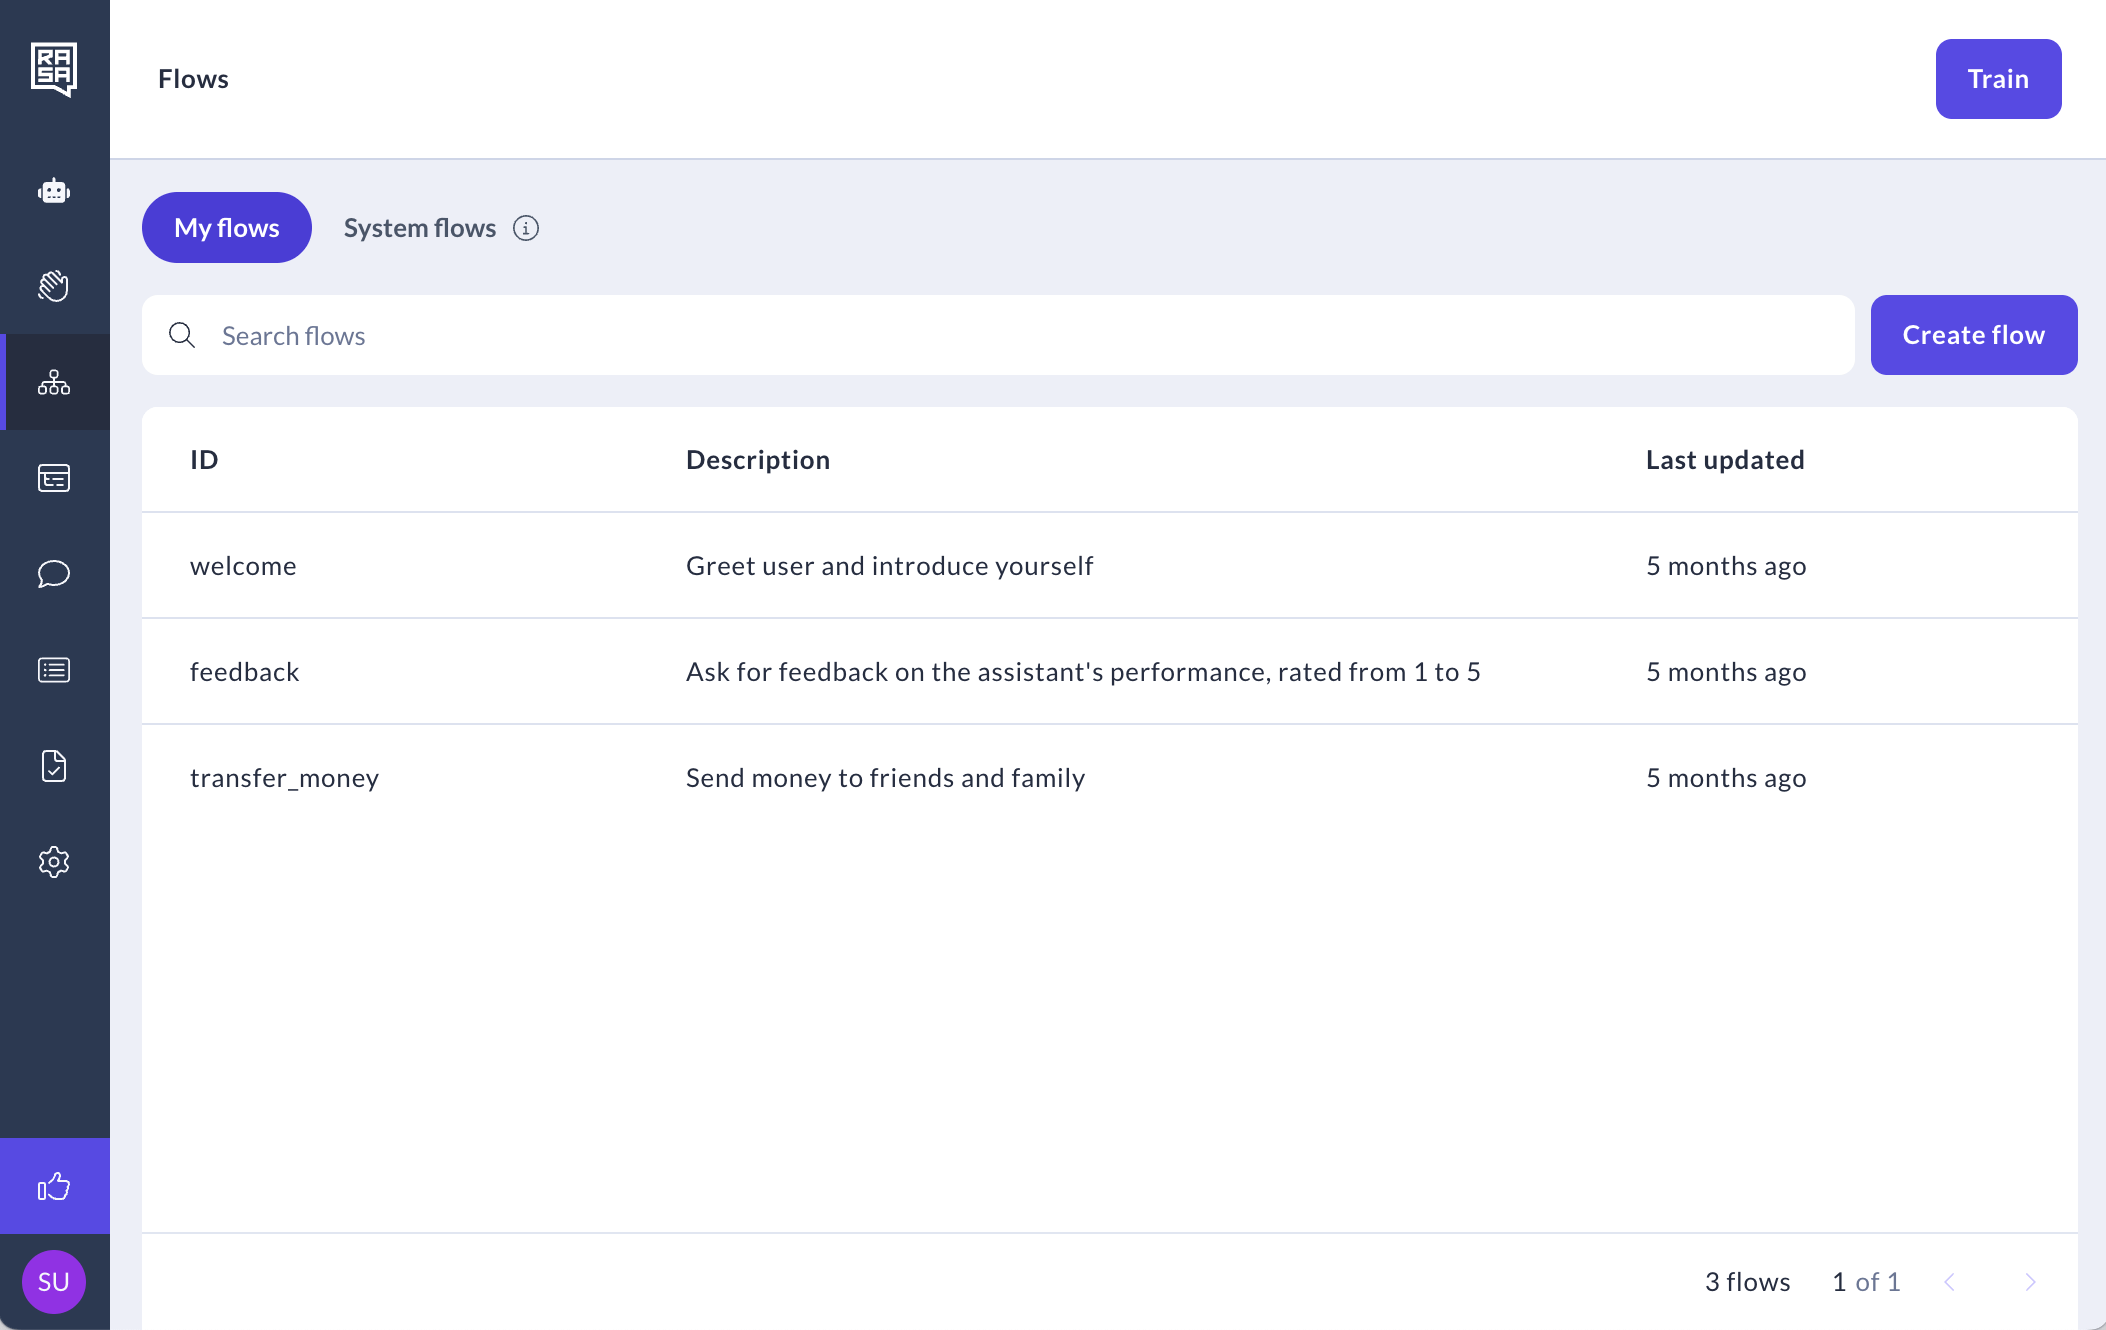
Finding your flows
There are 2 ways to navigate through flows:
- The flow table: It is the first thing you see when you visit the Flow builder page. Here, you can view the description and state of each flow, sorted by the date of the last edit.
- The flow list: To access this list, click on the "See flows" button in the upper left corner of the canvas.

Editing flows
- To edit a flow’s description, open the flow and select the Start step. You can update the description in the side panel on the right.

- To rename a flow or change its ID, click the pencil icon next to the flow’s ID.

(Optional) Translating flow names
Assistants will sometimes refer to flows in conversation when cancelling or clarifying an action. If you have a multi-language assistant you can provide a user friendly flow name that will be used in this case and localize for your supported languages.

Duplicating flows
You can duplicate an existing flow to reuse its logic:
- Hover over the flow name and click Duplicate.

- A copy of the flow will appear with “Copy” in the name and description — you can rename and adjust it as needed.

Deleting flows
- To delete a flow, hover over the flow name and click Delete.

- In the modal that opens, confirm deletion by typing the flow name.

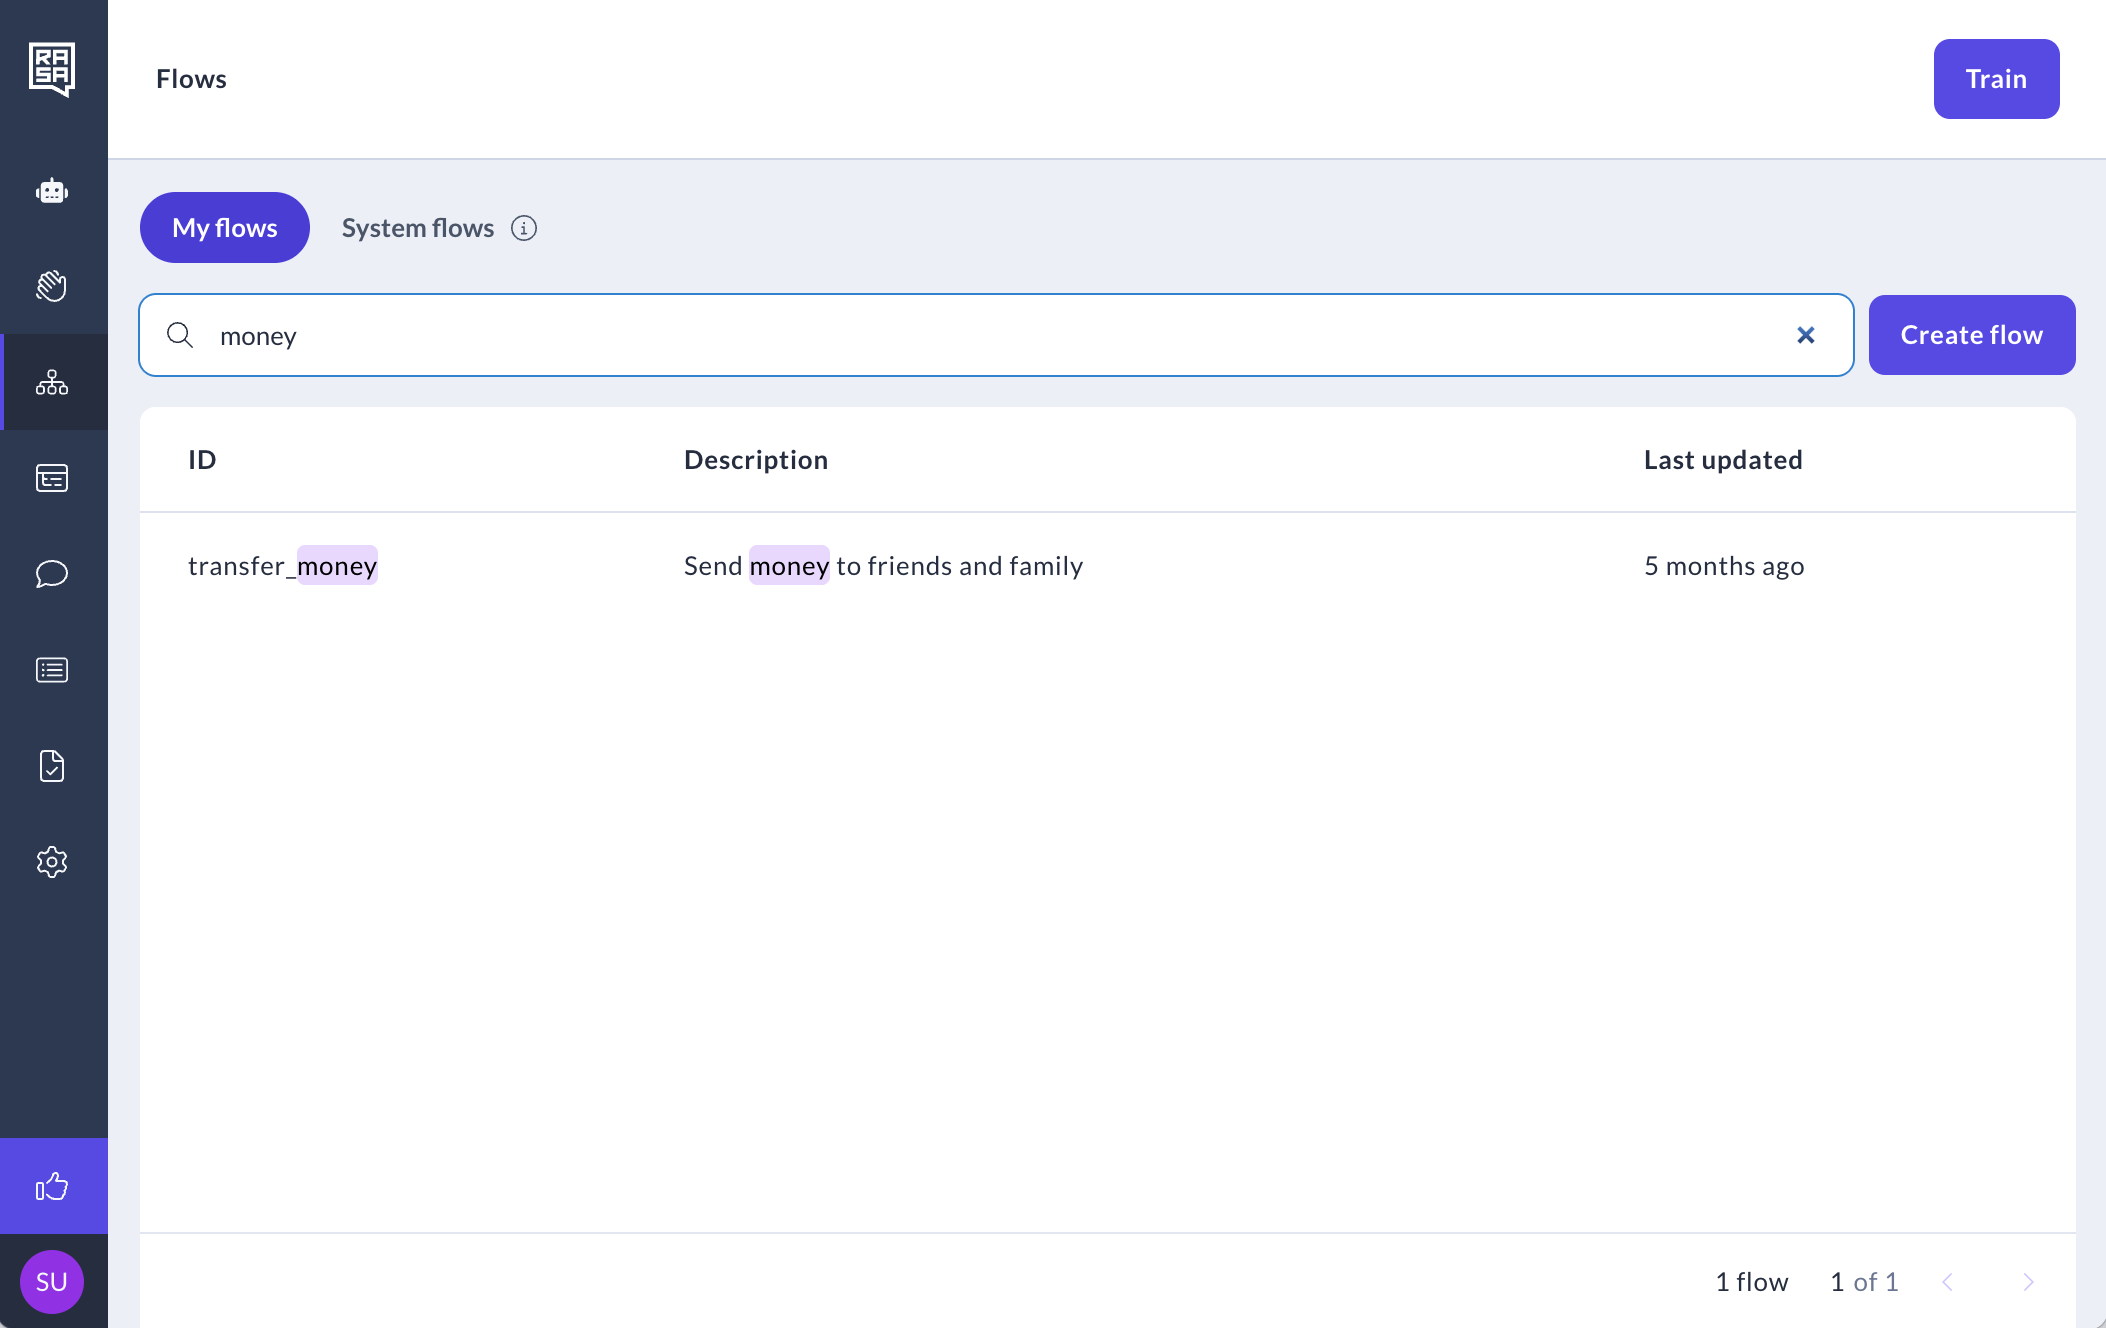
Searching flows
You can search for flows by typing their names into the search bar.
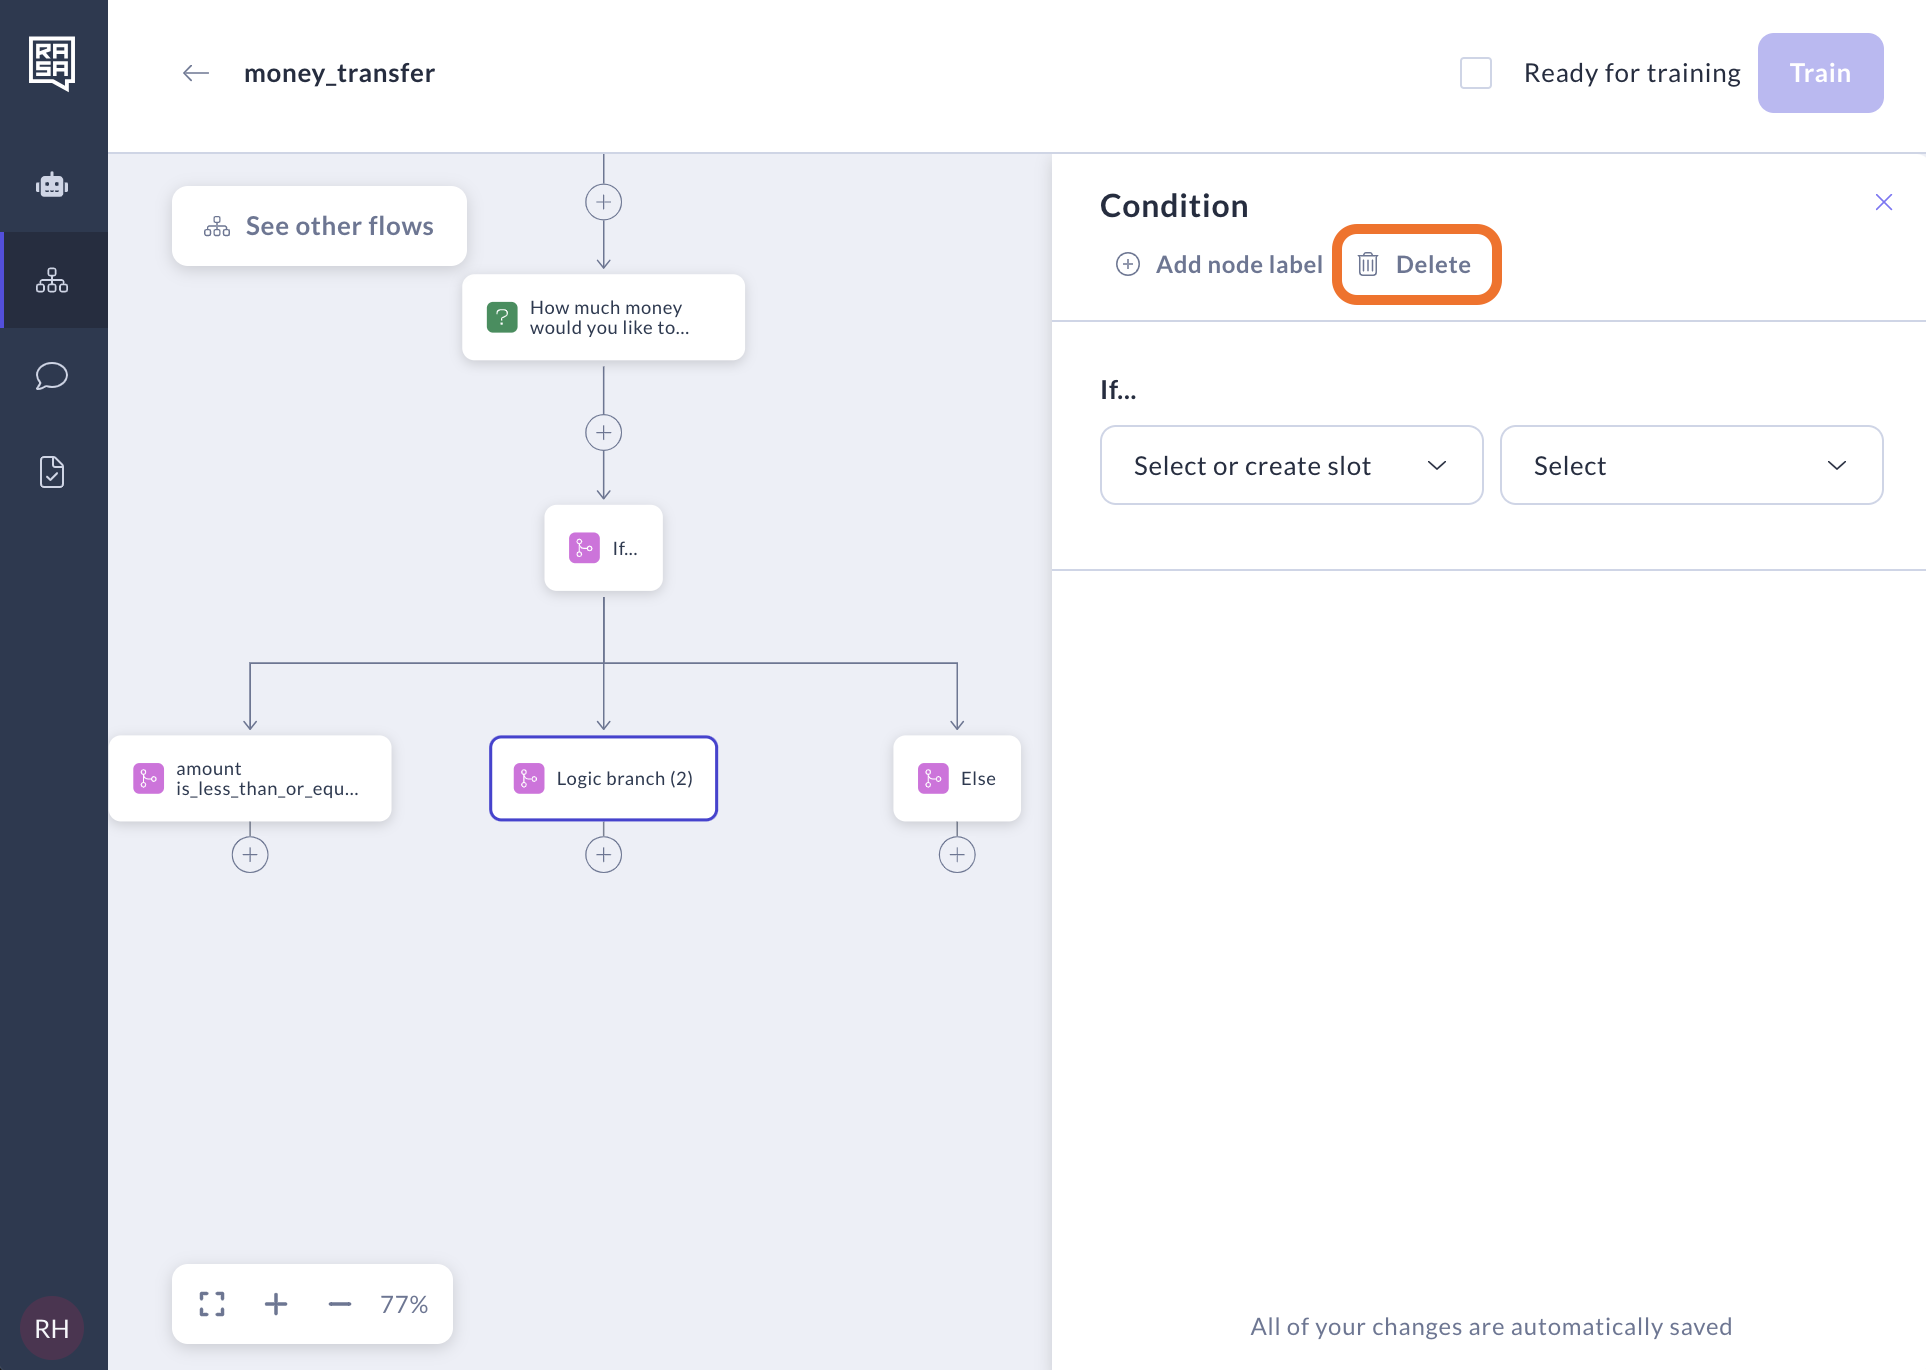
Deleting flow steps
Deleting a step other than Logic doesn’t remove the elements used in that step. For example, deleting a reply step only removes it from this section of the flow; the reply used in that step remains intact.
Adding step labels
When adding a step, its type dictates the displayed information. Details added to the step are used to present it. If the automatic display isn’t helpful, you can add labels to the steps to make them more descriptive and easier to navigate.

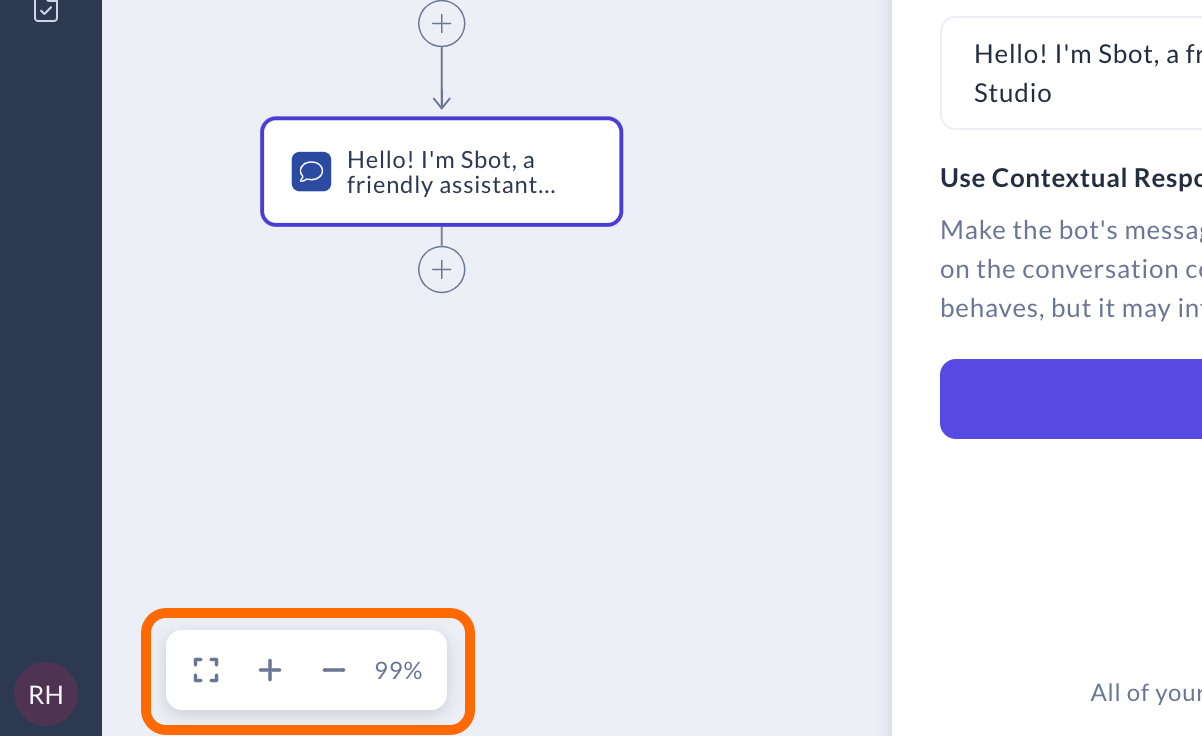
Navigating flow canvas
Here are the navigation options supported in Flow Builder:
- Zoom in using keyboard and mouse
- Zoom out using keyboard and mouse
- Adjust the screen display size
- Move around the canvas using keyboard and mouse